The Basics of Social Media Marketing
Facebook:
Facebook’s Ad Manager
-
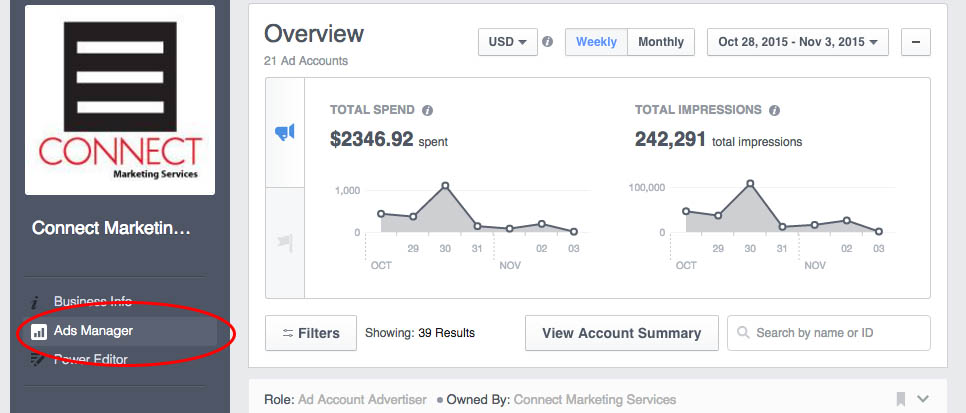
Navigating to Facebook’s Ad Manager
- Open Facebook Business Manager
- In the blue column on the far left side of the screen, select Ads Manager
-
Selecting the Right Account
- Now that the Ads Manager is open, it is important to be sure the ads you are about to schedule go under the proper Ad Account
- If you schedule an ad under the wrong account, that account will be charged for the ad causing budgets to get mixed and ads to be charged incorrectly
- Near the top left of the screen, there is a drop down menu that lists the account that is currently selected

- Looking through the drop down menu, select the right Ad account
- If you don’t see the one you are looking for in the initial drop down options, open view all ad accounts at the bottom and select it from the expanded menu
- Note: the page name and Ad Account name are not always the same; some Ad Accounts are used for multiple pages
- Example: Maine’s Ad Account is used for the Bangor, Biddeford, Brunswick, Lewiston, and Portland Pages
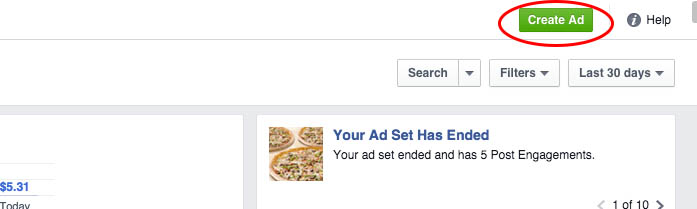
- Once the right account is selected, select the green “Create Ad” button in the upper right corner of the screen
- Now that the Ads Manager is open, it is important to be sure the ads you are about to schedule go under the proper Ad Account
Once you have the right ad account selected (check this before every ad you post), you are ready to create your Ads! There are a few different types of Facebook Ads we use here at Connect Marketing Services, based on what the client wants and what each does.
-
Boosting a Post
Boosting a post is used to foster more views and engagement with an already scheduled post.
- Once you have the right Ad Account selected, you can begin making ads by selecting the green “Create Ad” button in the upper right side of the screen
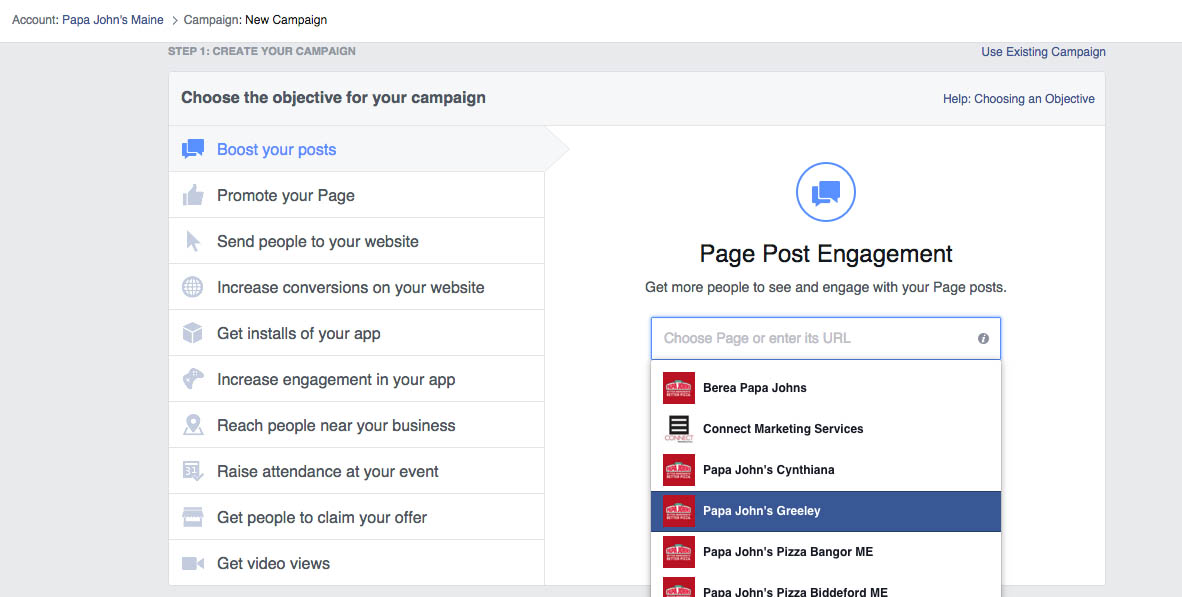
- Select “Boost your posts”
- Select the page where you want the ad posted
- Choose the post you want to boost and press continue
- At the point I would suggest Editing the campaign name to reflect what you are posting so it is easy to keep track of your budget later on; include the page name and the purpose of the post
- Specify any targeting you want to use
- Select your location
- Based on the type of post, you will determine the radius you want to use
- We often use interests to find people with interests similar to what we’re posting about
- You can add a connection type meaning you can target people who have directly liked your page or have some other connection to your page or its fans
- Targeting can be fun, but try not too get to narrow because you don’t want to exclude possible customers; do NOT over target
- Select your location
- Using the drop down budget change daily budget to lifetime budget
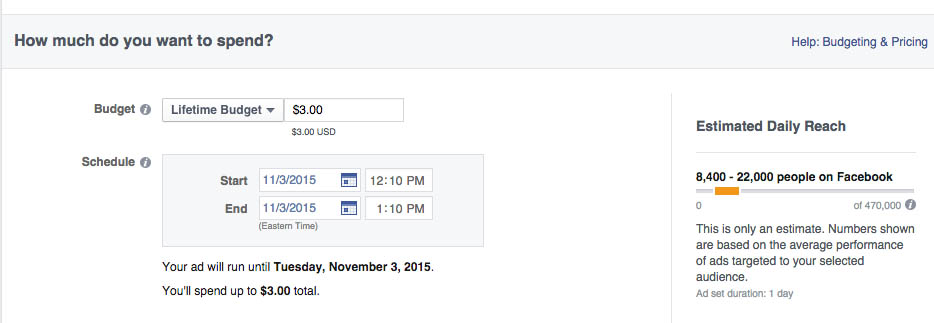
- Set your duration, looking at the responsive Daily Reach bar on the side that shows you how your choices affect your reach
- You want to lowest cost with the most reach; play with your budget and duration to find the best combination
- Scroll all the way to the bottom and check both the Desktop and Mobile previews to be sure the ad is displaying the way you intended
- Deselect Desktop Right Column

- Deselect Desktop Right Column
- If all looks good, go ahead and hit the green button on the lower right side to Place your order
-
Link Click Ads
Link click ads are used to increase the number of visits to your website.
- Once you have the right Ad Account selected, you can begin making ads by selecting the green “Create Ad” button in the upper right side of the screen
- Select “Send people to your website”
- Enter/ Copy and Paste the URL you where you want to send people and press continue
- Specify any targeting you want to use (reference targeting boosting your posts if you are unsure of how to target, change budgets, or alter duration)
- Under Step 3, select how you want your ad to look
- Under what images and links you want to use, be sure you will be posting the link from the right Facebook page
- Next, change or upload any images you want to use to make the ad look nice
- You have 40 characters for a headline, and 20 for a description; keep it brief and lead with the deal behind the link to get people to click it
- Scroll all the way to the bottom and check both the Desktop and Mobile previews to be sure the ad is displaying the way you intended
- Deselect Desktop Right Column
- If all looks good, go ahead and hit the green button on the lower right side to Place your order
Like Ads
Like ads are used to connect more people with your page.
- Once you have the right Ad Account selected, you can begin making ads by selecting the green “Create Ad” button in the upper right side of the screen
- Select “Promote your page”
- Pick the page you want to promote and press continue
- Specify any targeting you want to use (reference targeting boosting your posts if you are unsure of how to target, change budgets, or alter duration)
- Select any images or media you want connected to your ad and upload them
- You have 90 characters to promote your page, be sure to include a clear value proposition (tell people what they will get from following vs what they aren’t getting now; how will liking our page improve their situation?)
- Scroll all the way to the bottom and check both the Desktop and Mobile previews to be sure the ad is displaying the way you intended
- Deselect Desktop Right Column
- If all looks good, go ahead and hit the green button on the lower right side to Place your order
Create Similar Ads
After you have made your first ad in an ad set, use Create Similar Ads to replicate the ad you have just created on other pages or with other posts.
- After you have submitted your first ad, the option to create a similar ad will appear; select it
- Note: the Ad account will remain the same, and targeting, duration, and budget are all initially kept the same as the ad you just posted
- Select the new post you are going to be putting the ad behind
- Adjust any targeting you need to change(reference targeting boosting your posts if you are unsure of how to target, change budgets, or alter duration)
- Scroll all the way to the bottom and check both the Desktop and Mobile previews to be sure the ad is displaying the way you intended
- Deselect Desktop Right Column
- If all looks good, go ahead and hit the green button on the lower right side to Place your order
- This is a helpful shortcut in Facebook’s Ad Manager, but don’t rush using it and be sure that you have checked that all is as it should be before placing any orders
Leave a Reply